16 - State
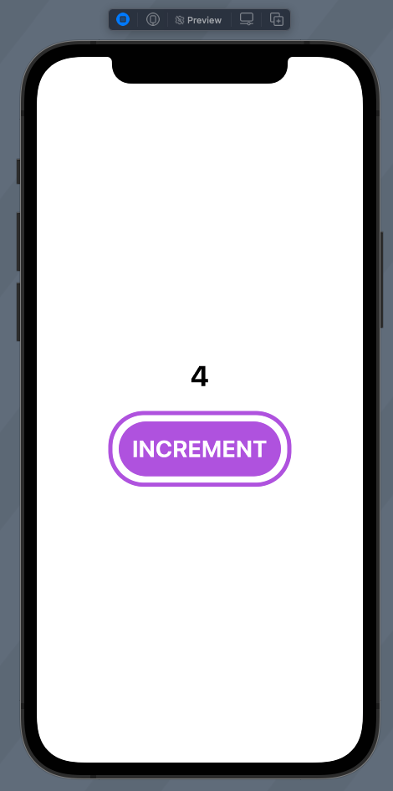
State in view
- Define local state variables with @State
- Modifying these causes view to invalidate and redraw needed parts
- Live preview
- Play icon
1 2 3 4 5 6 7 8 9 10 11 12 13 14 15 16 17 18 19 20 21 22 23 24 25 26 27 28 29 30 31 32 33 34 35 | |
passing data to subView 1
In subview
- var somename: SomeType
- Constructor parameter, one-way param
- @Binding var somename: SomeType
- Two-way binding
- Use .constant to create constant value
1 2 3 4 5 6 7 8 9 10 11 12 13 14 15 16 17 18 | |
passing data to subView 2
- To pass state variable to binding property prefix it with $
1 2 3 4 5 6 7 8 9 10 11 12 13 14 15 16 17 18 19 20 21 22 23 24 25 26 27 28 29 | |
State and Data flow
Framework automatically performs most of the work traditionally done by view controllers – UI and state is synced

StateObject
- Use State and Binding for value types
- Use StateObject and ObservedObject for reference types
Shared state
Use ObservableObject in BLL object declaration.
@Published property wrapper is added to any properties inside an observed object that should cause views to update when they change.
1 2 3 4 5 6 7 8 9 10 11 12 13 14 15 16 17 18 19 20 21 22 23 24 | |
EnvironmentObject
SwiftUI’s @EnvironmentObject property wrapper lets us create views that rely on shared data, often across an entire SwiftUI app.
1 2 3 4 5 6 7 8 9 10 11 12 13 | |
@EnvironmentObject specifically means "this object will be provided from some outside entity, rather than being created by the current view or specifically passed in".
Object is placed int the environment context with .environmentObject(some_object) . Call are chainable.
1 2 3 | |
All SwiftUI property wrappers
- @AppStorage reads and writes values from UserDefaults. This owns its data.
- @Binding refers to value type data owned by a different view. Changing the binding locally changes the remote data too. This does not own its data.
- @Environment lets us read data from the system, such as color scheme, accessibility options, and trait collections, but you can add your own keys here if you want. This does not own its data. Look at https://developer.apple.com/documentation/swiftui/environmentvalues
- @EnvironmentObject reads a shared object that we placed into the environment. This does not own its data.
- @FetchRequest starts a Core Data fetch request for a particular entity. This owns its data.
- @FocusedBinding is designed to watch for values in the key window, such as a text field that is currently selected. This does not own its data.
- @FocusedValue is a simpler version of @FocusedBinding that doesn’t unwrap the bound value for you. This does not own its data.
- @GestureState stores values associated with a gesture that is currently in progress, such as how far you have swiped, except it will be reset to its default value when the gesture stops. This owns its data.
- @Namespace creates an animation namespace to allow matched geometry effects, which can be shared by other views. This owns its data.
- @NSApplicationDelegateAdaptor is used to create and register a class as the app delegate for a macOS app. This owns its data.
- @ObservedObject refers to an instance of an external class that conforms to the ObservableObject protocol. This does not own its data.
- @Published is attached to properties inside an ObservableObject, and tells SwiftUI that it should refresh any views that use this property when it is changed. This owns its data.
- @ScaledMetric reads the user’s Dynamic Type setting and scales numbers up or down based on an original value you provide. This owns its data.
- @SceneStorage lets us save and restore small amounts of data for state restoration. This owns its data.
- @State lets us manipulate small amounts of value type data locally to a view. This owns its data.
- @StateObject is used to store new instances of reference type data that conforms to the ObservableObject protocol. This owns its data.
- @UIApplicationDelegateAdaptor is used to create and register a class as the app delegate for an iOS app. This owns its data.
Storing temporary data
When it comes to storing data in your app, the simplest property wrapper is @State. This is designed to store value types that are used locally by your view, so it’s great for storing integers, Booleans, and even local instances of structs.
In comparison, @Binding is used for simple data that you want to change, but is not owned by your view. As an example, think of how the built-in Toggle switch works: it needs to move between on and off states, but it doesn’t want to store that value itself so instead it has a binding to some external value that we own. So, our view has an @State property, and the Toggle has an @Binding property.
There is a variation of @State called @GestureState, specifically for tracking active gestures. This isn’t used so often, but it does have the benefit that it sets your property back to its initial value when the gesture ends.
For more advanced purposes – i.e., dealing with classes, or sharing data in many places – you should not use @State and @Binding. Instead, you should create your object somewhere using @StateObject, then use it in other views with @ObservedObject.
A simple rule is this: if you see “state” in the name of a property wrapper, it means that views definitely owns the data.
So, @State means simple value type data created and managed locally but perhaps shared elsewhere using @Binding, and @StateObject means reference type data created and managed locally, but perhaps shared elsewhere using something like @ObservedObject.
This is important: if you ever see @ObservedObject var something = SomeType() it should almost certainly be @StateObject instead so that SwiftUI knows the view should own the data rather than just refer to it elsewhere. Using @ObservedObject here can sometimes cause your app to crash because the object is destroyed prematurely.
If you find yourself handing the same data from view to view to view, you’ll find the @EnvironmentObject property wrapper useful. This lets you read a reference type object from a shared environment, rather than passing it around explicitly.
Just like @ObservableObject, @EnvironmentObject should not be used to create your object initially. Instead, create it in a different view and use the environmentObject() modifier to inject it into the environment. Although the environment will automatically keep ownership of your object, you can also use @StateObject to store it wherever it was originally created. This is not required, though: putting an object into the environment is enough to keep it alive without further ownership.
The final state-based property wrapper is @Published, which is used inside your reference types to annotate the properties. Any property marked with @Published will cause its parent class to announce that a change has occurred, which in turn will cause any view observing that object to make any changes it needs.
Reading environment data
SwiftUI has two properties wrappers for reading the user’s environment: @Environment and @ScaledMetric.
@Environment is used to read a wide variety of data such as what trait collection is currently active, whether they are using a 2x or 3x screen, what timezone they are on, and more. It also has a couple of special application actions, such as exporting files and opening a URL in the system-registered web browser.
@ScaledMetric is much simpler, and lets us adapt the size of our user interface based on a user’s Dynamic Type settings. For example, a box that is 100x100 points might look great using the system default size, but with @ScaledMetric it will automatically become 200x200 when a larger Dynamic Type setting is enabled.